Step 1 of 5

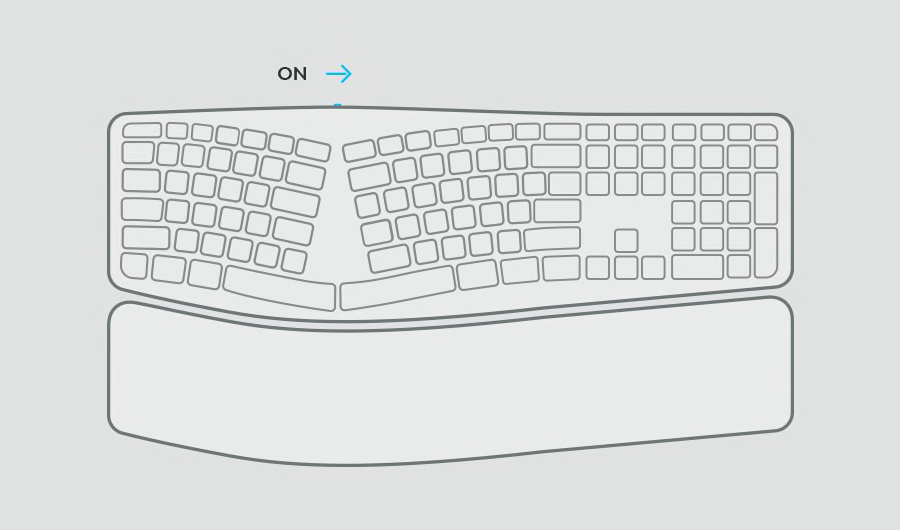
Make sure your keyboard is on
Make sure the battery compartment pull-tab from the back of the keyboard is removed. To turn your keyboard ON, use the power switch, typically placed on the edge of the keyboard. The Power LED will light green when turned on.

Step 2 of 5

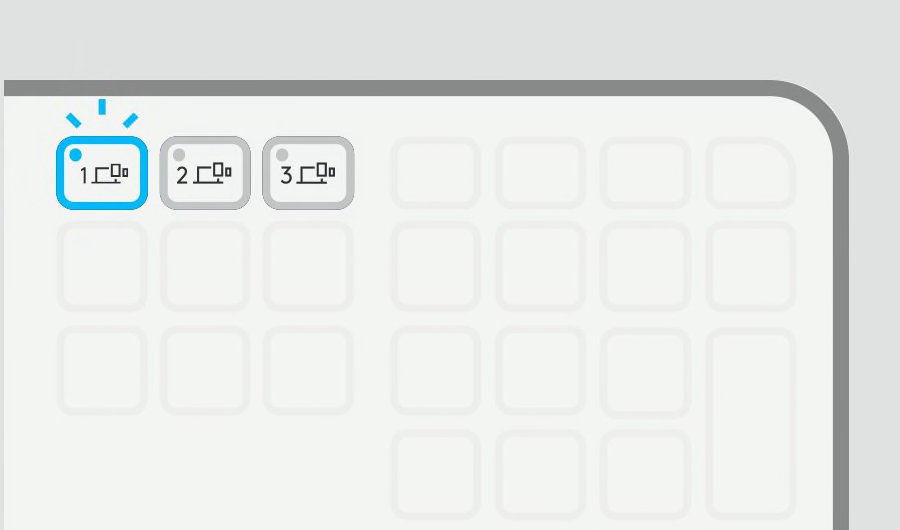
One of the Easy-Switch™ buttons’ LED lights should be blinking
If not, press and hold one of the Easy-Switch keys for 3 seconds. When the light begins blinking, the keyboard is ready to pair with your computer.

Step 3 of 5

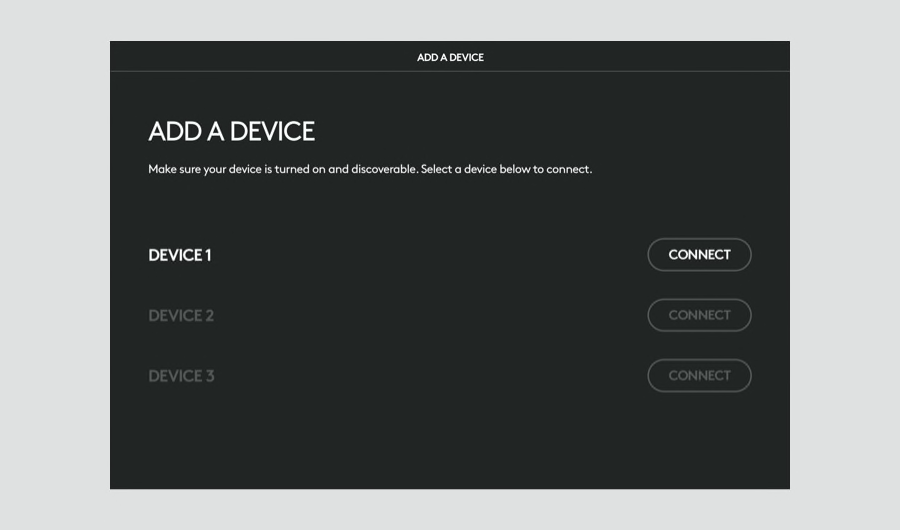
Continue Pairing to Your Computer
Find the Bluetooth® settings menu on your computer and select your keyboard from the list of available products.

Step 4 of 5

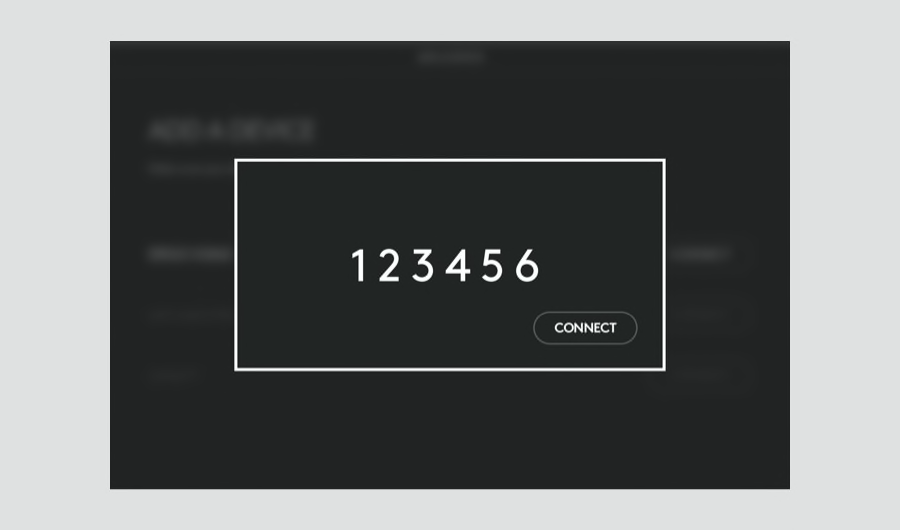
FINISH PAIRING TO YOUR COMPUTER
Type the code shown on your screen, press the enter key on your keyboard, and then click connect.

Recommended Step 5 of 5

Install Logi Options+
Logi Options+ is a powerful and easy-to-use application that enhances your experience using Logitech mice and keyboards by enabling you to customize them to work how you want.
Explore Options+ Now
- Step 1
- Step 2
- Step 3
- Step 4
- Step 5

